How do I set up a Smart View on Grade Centre?
A smart view allows you to customise how the grade centre is displayed when you open it. Two examples of its use are; Setting up a smart view for each tutor on a large module site so tutors see only their students. Setting up a smart view to quickly see if any students have failed an assessment task.
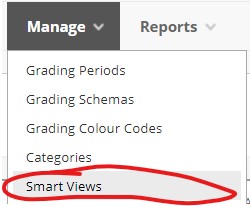
Step 1: From the Control Panel, click Grade Centre then Full Grade Centre. Once Grade Centre has loaded click Manage then Smart Views.
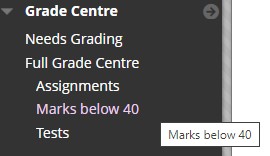
Step 2: Click Create Smart View then start to fill in the information. The Name box will be the display name for the smart view. Add as favourite will place the smart view link inside the grade centre control panel menu (see below).
Step 3: Think about the selection criteria you want to use for this smart view. The criteria are broken down into 5 categories;
Course Group - This will display a group of students (eg. a tutor group). In order to use this option you need to have created your student group first.
Performance - will show specific students based on their performance (eg. Show students who got 70+ on a particular assessment task)
User - will display specific users not tied to a group.
Category and Status - This isn't used at SHU.
Custom - allows you to combine any of the above with AND or OR commands. (e.g. show students who have achieved 70+ on two different assignments.)
Step 4: You can pick if you want to filter the results to all columns or just a selected column.
Step 5: Finally click Submit.
Step 6 (optional): If you didn't add the smart view as a favourite (step 2) in Grade Centre, click Filter. A new row will now appear, hover over the box next to Current View and you can select a smart view.